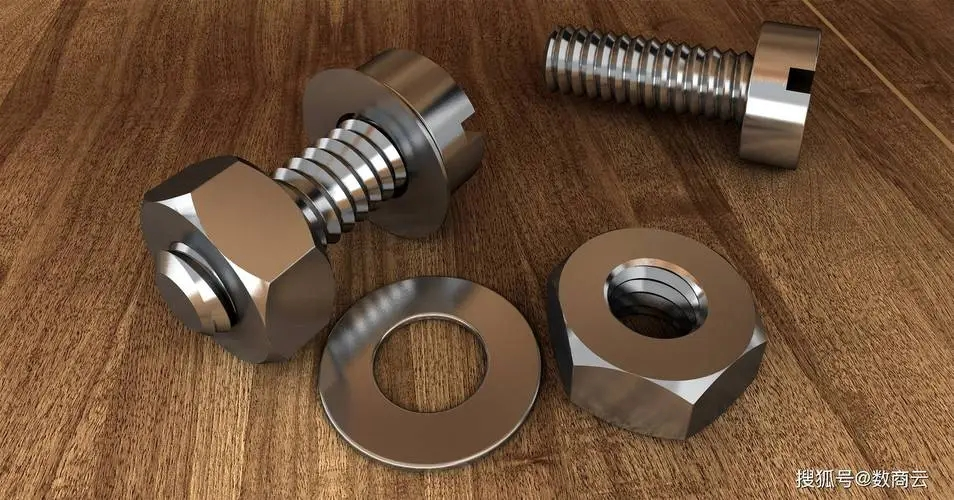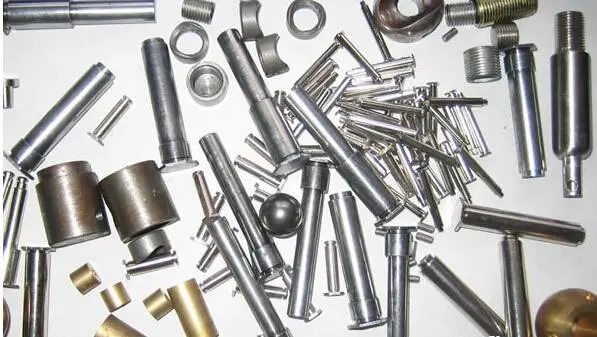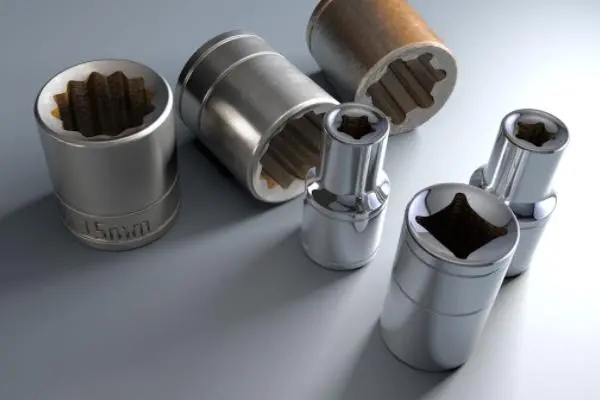
The appearance quality of a product is an important aspect of sensory quality. Appearance quality generally refers to the quality elements of a product's shape, color tone, gloss, pattern, etc. that are visually observable. Obviously, all defects such as bumps, abrasions, indentations, scratches, rust, mold, bubbles, pinholes, pitting, surface cracks, delamination, wrinkles, etc. will have an impact on the appearance quality of the product. In addition, many quality factors of appearance products directly affect product performance, lifespan, and other aspects. Products with smooth surfaces have strong rust resistance, low friction coefficient, good wear resistance, and low energy consumption.
The evaluation of product appearance quality has a certain subjectivity. In order to make objective judgments as much as possible, the following inspection methods are often used in industrial product quality inspection.
(1)Standard sample group method. Pre select qualified and unqualified samples as standard samples, where unqualified samples have various defects with varying degrees of severity.
Standard samples can be repeatedly observed by many inspectors (evaluators) and the observation results can be statistically analyzed. After analyzing the statistical results, it can be determined which defect categories are not properly defined; Which inspectors do not have a deep understanding of the standards; Which inspectors lack the necessary training and discernment abilities.
(2)Photo observation method. Through photography, the qualified appearance and allowable defect limits can be represented by photos, and typical photos of various unacceptable defects can also be used for comparative inspection.
(3)Defect amplification method. Use a magnifying glass or projector to enlarge the surface of the product and search for defects on the observed surface, in order to accurately determine the nature and severity of the defects.
(4) Disappearance distance method. Go to the product usage site, inspect the product's usage conditions, and observe the product's usage condition. Then simulate the actual usage conditions of the product, and specify the corresponding time, observation distance, and angle as observation conditions for inspection. If a certain product's appearance defect is specified, as long as it is not visible within 3 seconds from a distance of one meter, it is considered qualified, otherwise it is considered unqualified. This method is much more convenient and applicable than setting standards and conducting inspections item by item based on various types and severity of appearance defects.

Example: Appearance quality inspection of galvanized coating on components.
①Appearance quality requirements. The appearance quality of galvanized coating includes four aspects: color, uniformity, allowable defects, and unacceptable defects.
Color. For example, the galvanized layer should be a light gray color with a slight beige hue; After being exposed to light, the galvanized layer appears as a silver white with a certain gloss and a slight hint of light blue; After phosphate treatment, the galvanized layer should be light gray to silver gray.
Uniformity. The galvanized layer is required to have a finely crystallized, uniform, and continuous surface.
Allow defects. For example, slight water stains; The parts are very important, and there are slight fixture marks on the surface; There are slight differences in color and gloss on the same part.
Defects are not allowed. For example: blistering, peeling, burning, nodulation, and pitting of the coating; Dendritic, sponge like, and striped coatings; Unclean salt stains, etc.
②Sampling for appearance inspection. For important parts, critical parts, large parts, and ordinary parts with a batch size of less than 90, the appearance should be inspected 100% and non-conforming products should be removed; For ordinary parts with a batch size greater than 90 pieces, sampling inspection should be carried out, with a general inspection level of II and a qualified quality level of 1.5%. The inspection should be carried out according to the normal inspection sampling plan specified in Table 2-12. When an unqualified batch is found, it is allowed to inspect the batch 100%, remove the unqualified products, and resubmit for inspection.
③Appearance inspection methods and quality evaluation. Visual inspection is the main method for appearance inspection, and if necessary, 3-5 times magnifying glass can be used for inspection. During inspection, natural scattered light or white transmitted light without reflection shall be used, with an illumination of no less than 300 lux, and the distance between the parts and the human eye shall be 250 millimeters.
If the batch size is 100, a sample size of 32 pieces can be extracted; Through visual inspection of these 32 pieces, it was found that two of them had blisters on the coating and burnt marks. As the number of non-conforming products was 2, it was determined that this batch of parts was non-conforming.

Post time: Apr-03-2024


